Today we have a guest post from Andy at Bow Hunting Maryland. As his site name implies, Andy’s an avid bow hunter here in Maryland. He’s also quite handy, and has helped Fred and Kim on several projects around their house, including installing hardwood floors last summer.
Andy asked if he could share an article on building the wood bow rack pictured below, and we obliged. If you’re interested in bow hunting in Maryland, or anywhere else on the planet, head on over to BHM and bookmark it for future reference.
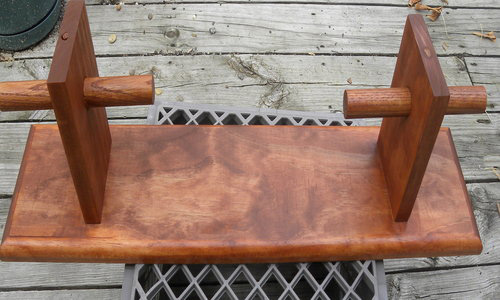
How to Build a Bow Rack by Andy @ Bow Hunting Maryland
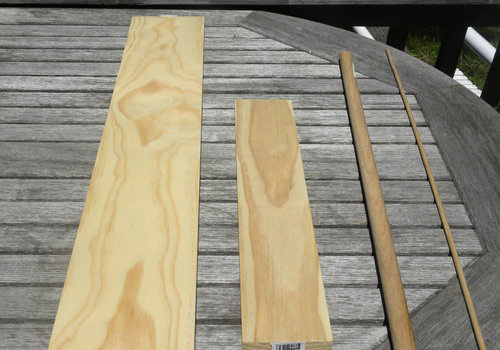
- 24 inches of 1 x 6 stain grade pine
- 12 inches of 1 x 4 stain grade pine
- 14 inches of 7/8 inch dowel oak
- 12 inches of 1/4 inch dowel oak
- 4- 1 5/8 inch drywall screws
- Mounting hardware – I suggest 4 screws straight into studs or wall anchors rated for 50lbs+
- Paint or Stain (optional)
- Pencil
- Tape Measure
- Speed Square
- Hammer
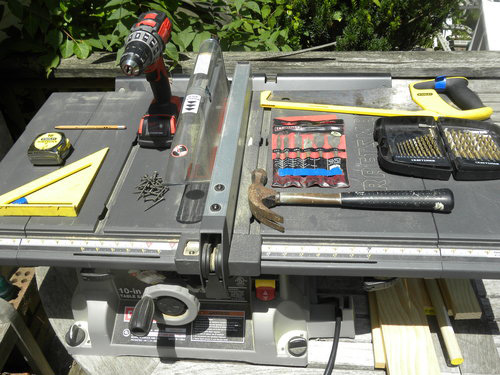
- Saw – I used a table saw and Jig saw, but a miter saw or a good old fashion hand saw works too
- Drill Driver
- 1/8 inch drill Bit
- 1/4 inch Drill Bit
- 7/8 inch Spade Drill Bit
- Router and router bit (optional)
Step 1: Cut the 1×6 backer board at 24″
Step 2: Cut (2) 1×4 boards at 6″ long each.
Step 3: Mark the 1×4 with an X for drilling
Step 4: Drill through the 1×4 with a 7/8″ spade bit.
Step 5: Add a creative edge to the backer board.
Step 6: Measure and mark the boards for drilling
Step 7: Measure, mark, and drill for mounting holes
Step 8: Install Drywall screws through the backer board into the 1×4 components
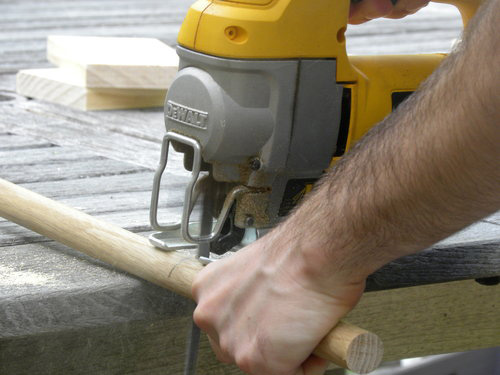
Step 9: Measure, mark, and cut the dowels.
Step 10: Insert the dowel.
Step 11: Drill the center of the 1×4 for a locking pin n the dowel
Step 12: Cut and insert the 1/4″ dowel locking pins
Step 13: Trim the 1/4 dowels flush.
Step 14: Sand the bow rack smooth
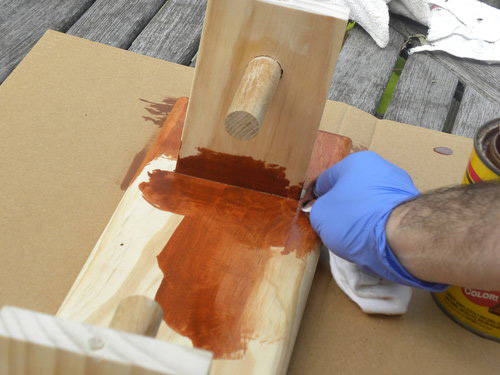
Step 15: Stain and seal the rack
Step 16: Mount the rack
Building your own bow rack is an easy DIY project for any archery enthusiast. The materials that are needed will cost around $20 depending on your selection of wood, and everything you need can be found at the local home improvement warehouse. The whole project will take about an hour to build (excluding paint or stain) depending on design choice and skill level. The simple bow rack shown in this post is made to hold up to 4 bows.
First, the shopping list:
Tool List:
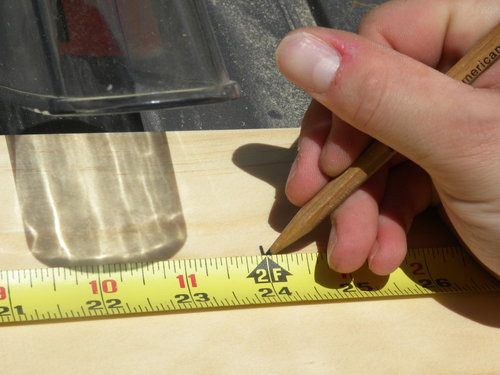
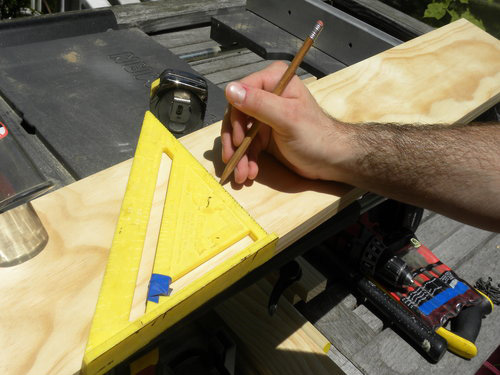
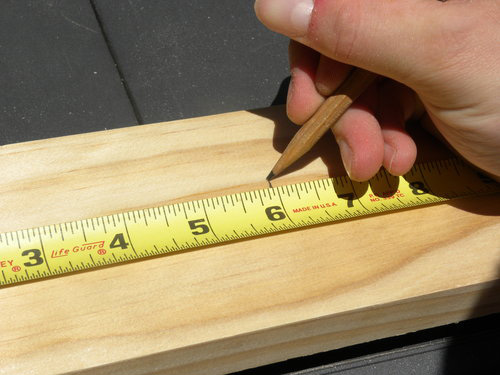
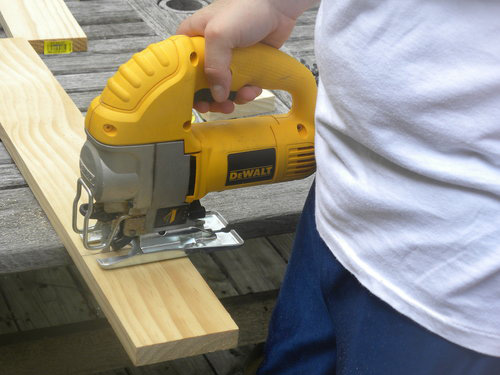
Measure from one end of the 1 x 4 that you just cut, 2″ in and 1 ¾” down and put an X where they meet.
Take the 7/8″ spade drill bit and center it on the X. Remember it is important that these holes are straight and level otherwise your rack will be lopsided, and nobody wants a lopsided bow rack.
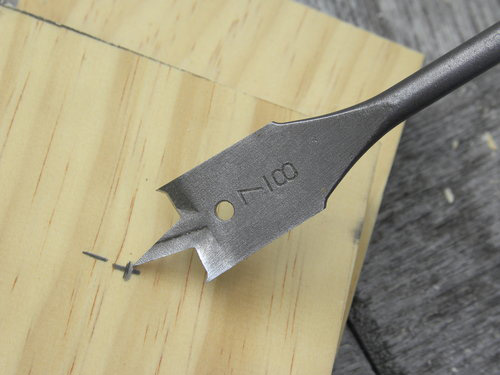
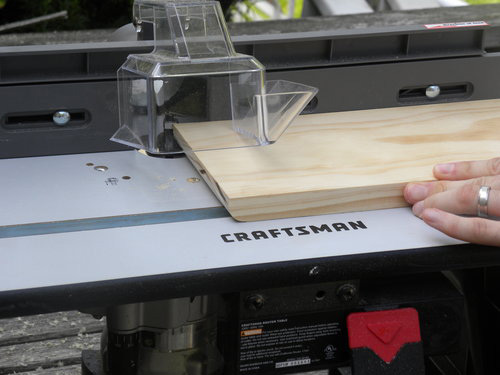
This is the design step. If you have a router and would like to put a creative edge on your backer board (1 x 6) now is the time to do it. I used a simple rounded edge bit to add some character. You can do anything you want with this step or leave it that way it is.
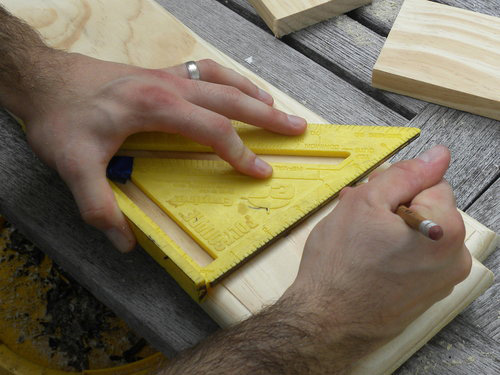
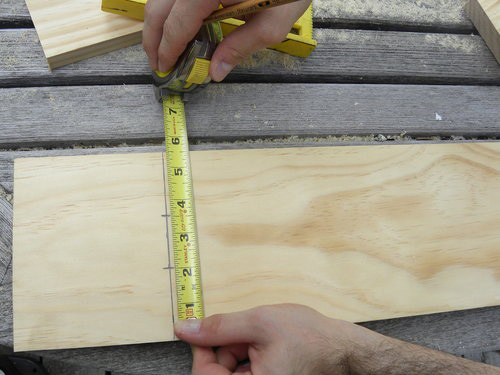
Measure in 4″ from each end of the 1 x 6 and draw a straight. Then, measure down 1″ from the top and up 1″ from the bottom making a mark on the lines you just drew. This gives you guidelines for mounting your 1×4 boards in the right places. This is important, otherwise the holes you drill in Step 7 will not line up correctly.
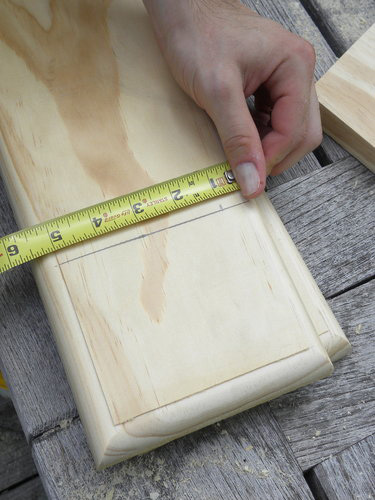
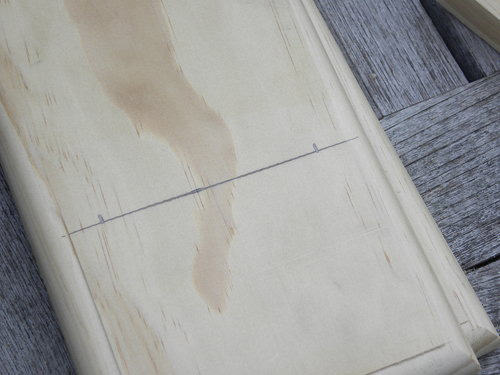
Flip over your backer board (1×6) and measure in towards the center 4 3/8″ from both ends and draw a straight line. Then, measure up 2″ and down 2″ along these lines and make marks. Take the 1/8″ drill bit and pre-drill each of these 4 marks that you just made. These give you pilot holes for mounting your 1×4 brackets.
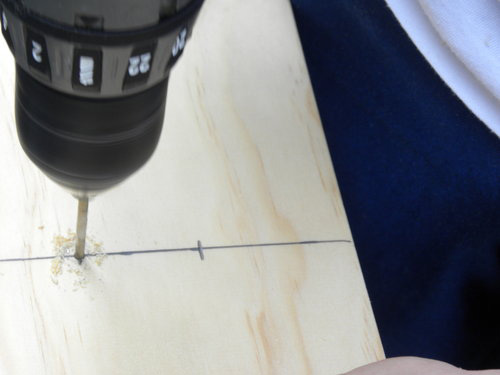
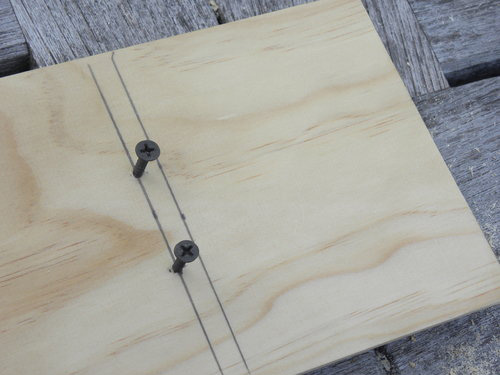
Take (4) 1 5/8″ drywall screws, start them from the back of the 1×6 into the 4 pre-drilled holes from Step 7. Then take your 1×4 brackets (one at a time) line them up to the guidelines you drew on the front of your 1×6. Screw one screw into the 1×4 and check to make sure you are still within your guidelines and screw the second screw in. You can either get someone to help you hold these in place while you screw them on, or use a clamp. Then repeat this for the second 1×4.
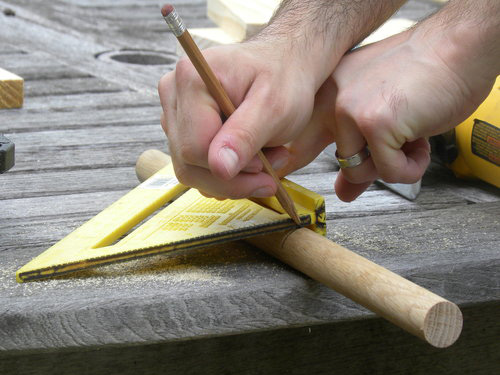
Measure 6 3/4″ on your 7/8″ dowel, mark and cut. You will need two of these.
Slide your 7/8″ dowel through the hole you drilled in step 4. It should stick out 3″ on each side. Once you have it centered, mark it on each side.
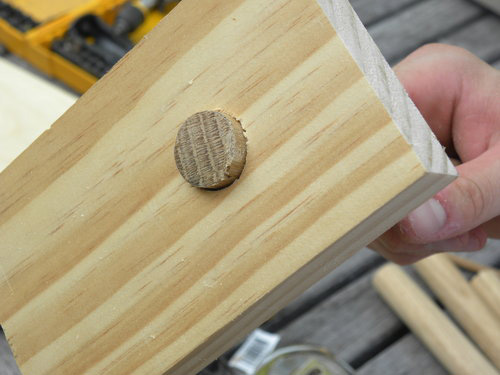
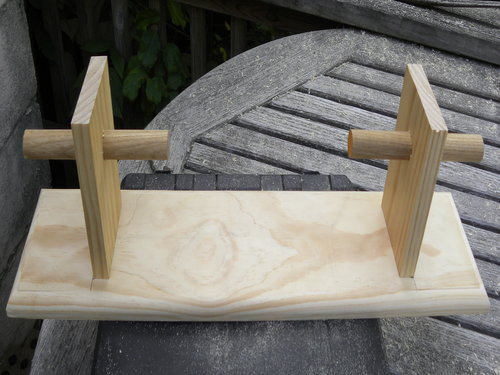
Place the rack flat and measure in 2″ from the end of the 1×4 on the top in the center (remember center is 3/8″ in from either side on any 1x wood). Take your 1/4″ drill bit on your mark and drill down through the 1×4 and 7/8″ dowel. This is probably the hardest step. It is very important to stay straight while drilling this hole as you want it in the center of the 1×4! Do this for both 1×4 brackets.
NOTE: Most 1/4″ Drill bits are long enough to just reach but make sure you verify before drilling.
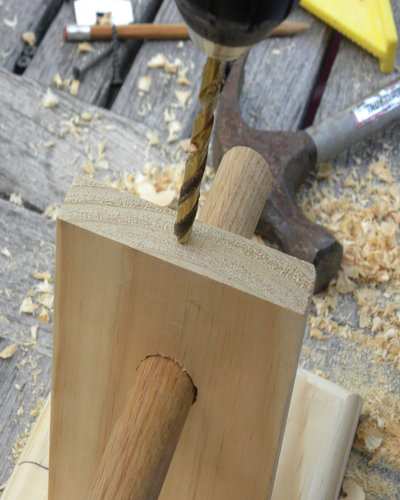
Cut 2 pieces of your 1/4″ dowel to the depth of the holes you just drilled in step 11. Mine were 3″ long but it will vary depending on your drill bit length. An easy thing to do is to hold the dowel next to your drill bit and mark the length of the hole you just drilled, but better to be long than short. (I highly recommend using a hand saw for cutting the 1/4″ dowel)
Take your 1/4″ dowel pieces that you just cut and tap them into the holes you drilled in step 11. They should be flush with the top of the 1×4, if they are not, they may not be all the way in. Otherwise, if you happen to measure a little long then you can just take a hand saw and trim them so they are flat.
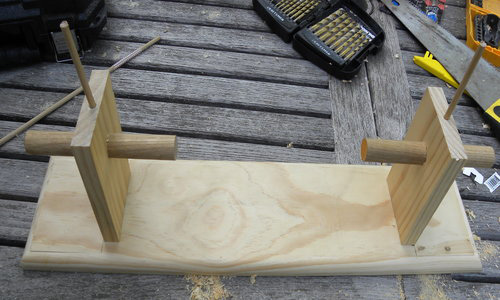
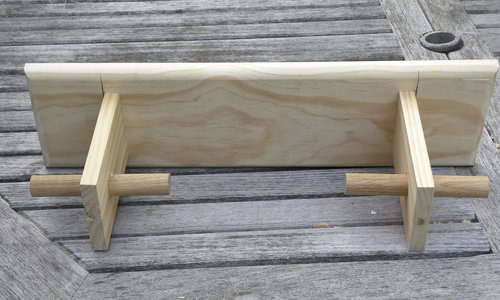
Sand your brand new bow rack smooth with a 220 grit sandpaper. You can use an electric sander or do it by hand. I sanded this one with one of the new sponge sanding blocks.
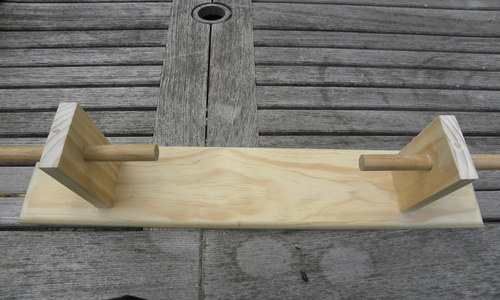
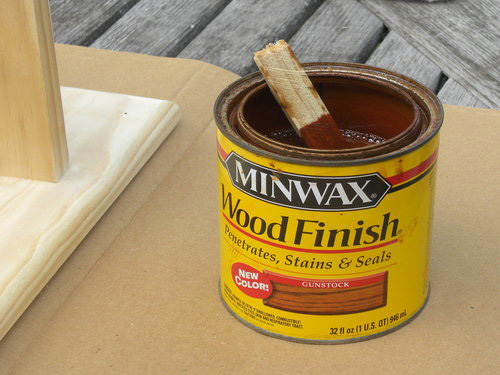
Then, you can paint or stain your bow rack to whatever color or design you wish. The one you see pictured below and was stained in the Minwax Gel Stain color Gun Stock and then it got a coat of satin finish polyurethane.

Finally, you can mount your bow rack on your wall just make sure your bow doesn’t hit the floor. I prefer to mount them straight to studs in the wall. Use 4 mounting screws of your choice but make sure they are 2″ long or longer and attack the bow rack to the wall.Wherever you have mounting screws that are not going into a stud, use wall anchors that will hold 50lbs or more!
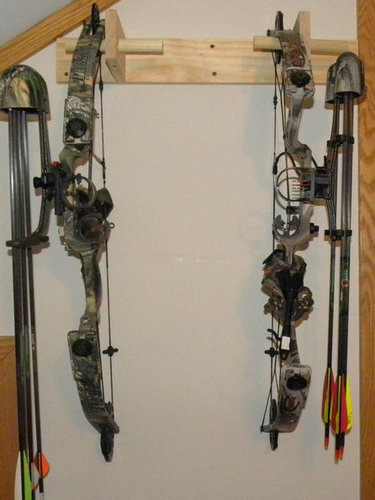
Here’s a picture of my current bow rack. I built it just like the one we put together, only faster and with scraps of wood I had laying around. It’s not as pretty, but I wanted to show you how it looks mounted to the wall.
Hopefully this makes for a fun, easy project for all of the archers out there and maybe even helps make a little more room in your house!
No comments:
Post a Comment